The Collet is the Answer
A small workholding change helped this shop deliver the required part finish by resolving vibration and runout issues.
“Yes, that’s right, I started in a garage,” says Jim Miller, president of Miller Precision Manufacturing Industries Inc. in Ottoville, Ohio. Mr. Miller refers to the American Dream when talking about his beginnings in the industry. He’s aware that he is the personification of the cliché about enterprises that start in garages and go on to achieve great things. He grins.
Mr. Miller began his career in precision machining as a teenager in the 1970s while working in the family machine shop. After attending college and receiving a degree in business management, he had a decision to make: Go back to the family machine shop, set out in an entirely new career in a different industry, or perhaps start his own business. His entrepreneurial spirit was strong, and the appeal of striking out on his own was irresistible. The third option was a natural fit.
“I started in 1988. I knew a gentleman who owned a small tool and die shop 20 miles south of here who was ready to retire, so I purchased his equipment inventory,” Mr. Miller says. “The most modern machine of the bunch was a 1969 DoAll surface grinder.” He moved the machines into a garage attached to a restaurant in his small hometown, Ottoville, Ohio, located in the farmland in the Northwestern part of the state.
Within the first month, he hired his brother, Tim Miller. Tim holds a degree in machine tool technology and is the perfect partner for Jim. While Tim took care of the machining side of the company, Jim stayed on the business side. “I was going to do programming at first, but decided to stay away and let Tim handle it. I took care of the business side, including sales,” Jim explains.
Growing the Business
In the mid-1990s Jim had CNC lathes and CNC mills, but was asking himself what was going to help diversify the company and make it grow. He decided to add horizontal machining and Swiss turning lathes for the ability to do more complex parts. “I bought more machines with the most modern technology to help us machine parts complete with no secondary operations,” Jim says. “We wanted to support less part chucking. We knew that fewer touch points on a part was going to speed the process and increase accuracy.”
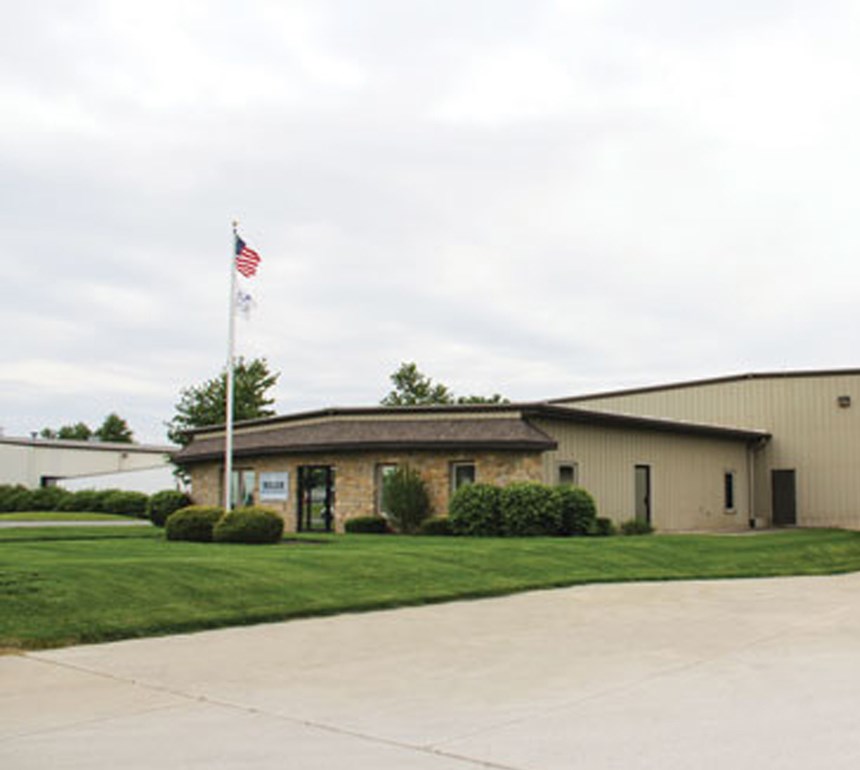
His strategy worked. In 1994, the company outgrew its location and constructed a new building in the industrial park on the edge of town. The building was enlarged in 1997 and was further expanded in 2006 to house an increasing machine inventory. The company currently runs 70 pieces of CNC equipment ranging from small Swiss lathes to large Okuma horizontals that feature 400-mm to 630-mm pallets. Miller also specializes in a number of CNC turning processes starting with 8-inch chucks and ranging up to 18 inches on a variety of lathes, including some with live tooling. A vertical machining area houses 15 Haas machines.
Miller has advanced production in recent years with the addition of several FMS systems, the largest being a two level 54-pallet system with four Okuma horizontal mills—two MB 5000 H units and two MB 500 HBs. Jim expects another four-cell expansion within a year or two. Through customer demand, the company has also grown into fabrication work and is now venturing into final assembly. “Customer demand for fabrication has become a new revenue stream for us. We are more of a turnkey shop now,” Jim explains.
With all of these advances, Miller Precision has grown to more than 95 employees working in 200,000 square feet of space in two locations. The headquarters building and main machining operations are in Ottoville with the second facility located in the town of Van Wert, about 12 miles away, with additional services such as fabricating, robotic welding, painting, powder coating and hydraulic presses.
Jim had a philosophy from the start that grew out of his previous experience. “Working in a shop at a young age, I got to see what I needed to do to succeed. Clean work environment, good lighting and facilities, a clean process, and equipment that is constantly updated,” he says. “These are important aspects that you can address so you aren’t just a machine shop.”
Community Involvement
Jim Miller was born and raised in the Ottoville area. He is active in his community; he serves on the Chamber of Commerce and is a supporter of the vocational school where he serves on the advisory board. He hires graduates of the school and gives them additional on-the-job training. “We grow our workforce from within the company. There is a strong work ethic in the rural farm area, which I like,” Jim says. When asked about the size and success of the company he is quick to deflect praise away from himself. “It’s due to having the right people in the right positions.”
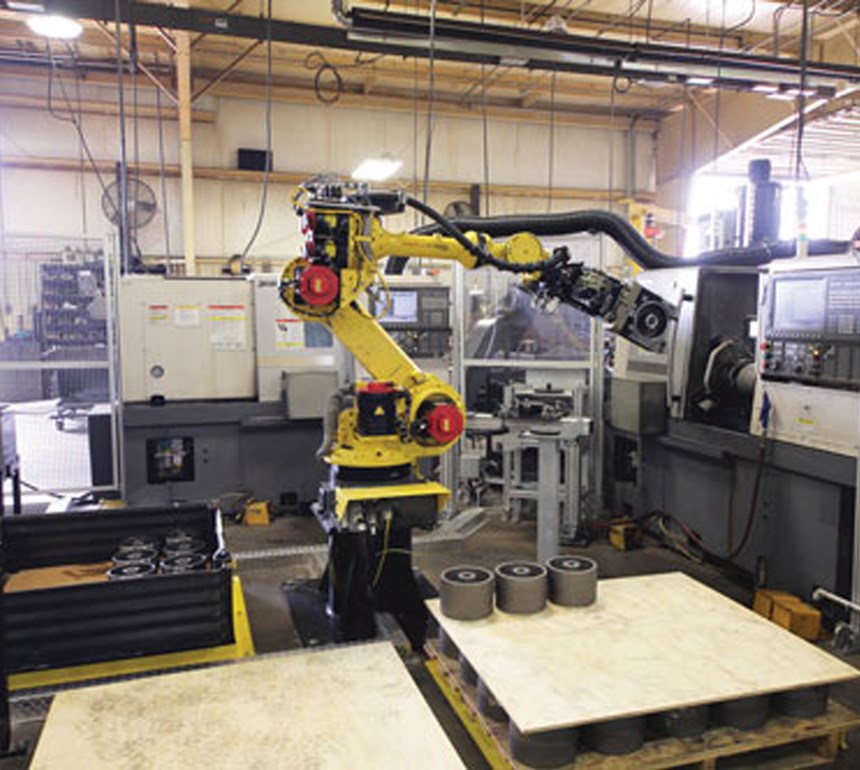
One of those rural farm people to advance in the ranks at Miller Precision is Engineering Manager Mike Schnipke. After getting his feet wet running Haas mills at a previous job, he decided to go to college for manufacturing or agriculture. “I already farmed with my dad, so I decided to diversify into something else,” he laughs. He was accepted into Grob Systems’ four-year tool and die apprenticeship program. After that experience, he wanted to work in a CNC programming position, so he moved to Miller Precision and worked his way up during the past 10 years. Mr. Schnipke has been instrumental in introducing new robot integration systems to increase production and lessen the stress on the operators.
The company is well on its way to more automation by adding a second robot that loads two lathes. To that end, Jim is happy to send people off to additional education. “We send our people to seminars and training schools whenever we can,” he says. “We are heavy on training, inside the company and out.”
Better Grip
In the fall of 2014, Mr. Schnipke was confronted with a perplexing problem. The company had a long-standing contract for all eight parts of a group assembly for a compressor coupling. Two mating parts were running on a Tsugami TMA8C-III with a five-axis head and an FMB 5-65 magazine bar feeder. But as volumes increased, one of those parts required quantities to be produced that were impossible to accomplish with the existing setup, so it needed to be moved to its own machine.
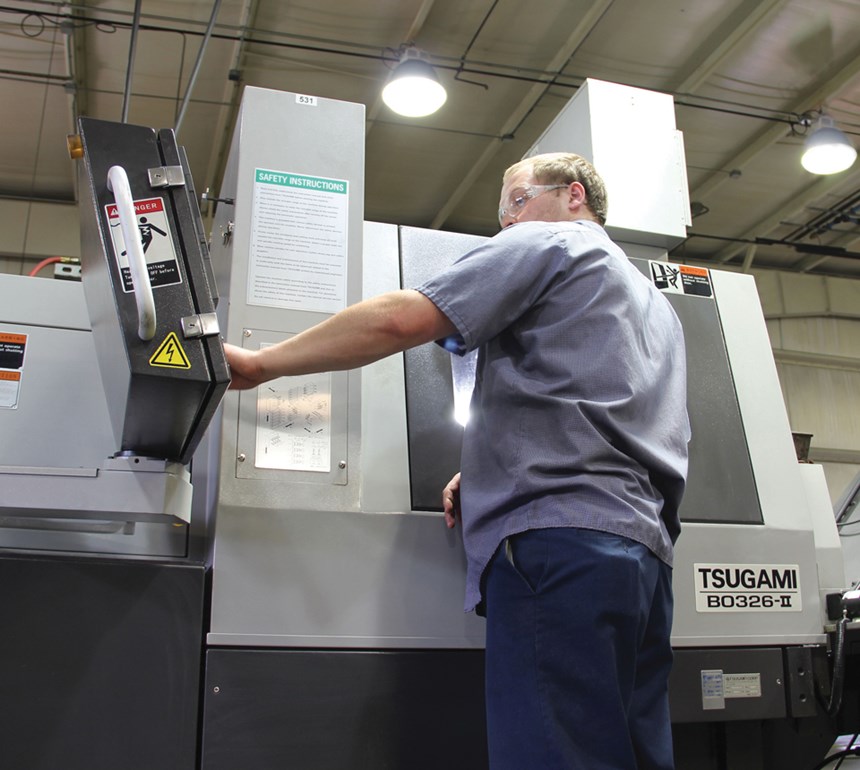
A new Tsugami B0326 II Swiss lathe with an FMB 3-38 magazine bar feeder was specified for the job. The part was going to be a tough one. “If we couldn’t do it, the parts would have to be ground. That would be too time consuming and expensive,” Mr. Schnipke says. “We needed to perform miracles to get the customer the required surface finish on a lathe.”
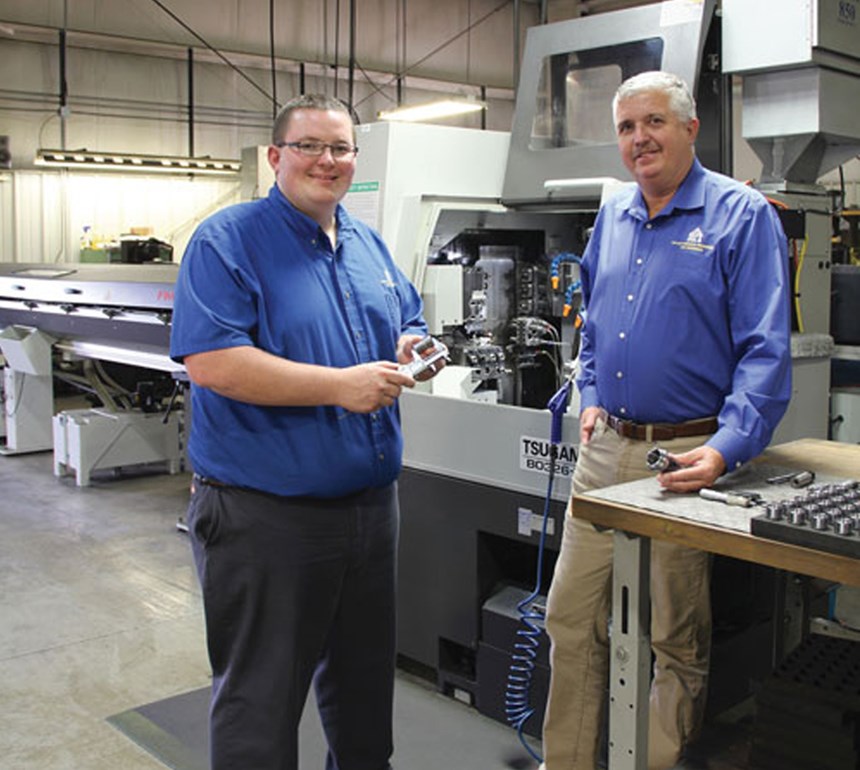
Minor miracles are a matter of daily procedure at Miller, so Mr. Schnipke and Tony Miller, quality manager, were confident with the solution. But, there were a few issues right from the start. At first they didn’t have the right material, so they had to wait for replacements to complete the install and part setup. After the new 4140 HT 32-mm barstock arrived, bar vibration issues slowed their advance toward starting full-scale production. “A 12-micro finish on the OD is necessary, so we use an Elliott diamond burnishing tool that we run over the surface to get that mirror finish,” Tony says. “We needed a high rpm for that diamond burnishing and for an ID roller burnishing process, and the vibration was a real problem.”
In addition to the vibration, they were coming up with a lot of short parts, indicating that the grip on the bar in the main spindle was tenuous. The large ID of the part required the use of a large drill. “That’s a pretty big drill for a Swiss machine, and it was pushing the part back through the collet, causing a lot of short parts and scrap,” Tony says. “We had Tony Burd from Technical Equipment (the local Tsugami dealer) come in and check out the Swiss lathe. The Tsugami checked out, so we had the guy from Edge Technologies come in and check out the FMB bar feeder.”
Brian Grisez, Edge Technologies’ service technician, arrived and proceeded to put the FMB feeder through its paces. Everything checked out fine, but Mr. Grisez pressed on. He suspected there may be an issue with the main spindle, which had yet to be inspected. “I did a test. I used a gage pin in the main spindle collet and a dial indicator and spun the collet,” Mr. Grisez says. “I watched the indicator, and the runout was 0.005 inch. That was problematic.”
Having a line of German-made collets imported by his company for the North American marketplace, Mr. Grisez was confident that he could supply a solution. “I suggested a Schlenker collet for high precision to solve the runout issue. The selection of the right style would give a better grip to keep the bar from slipping through the collet—another issue I knew they were having,” Mr. Grisez says.
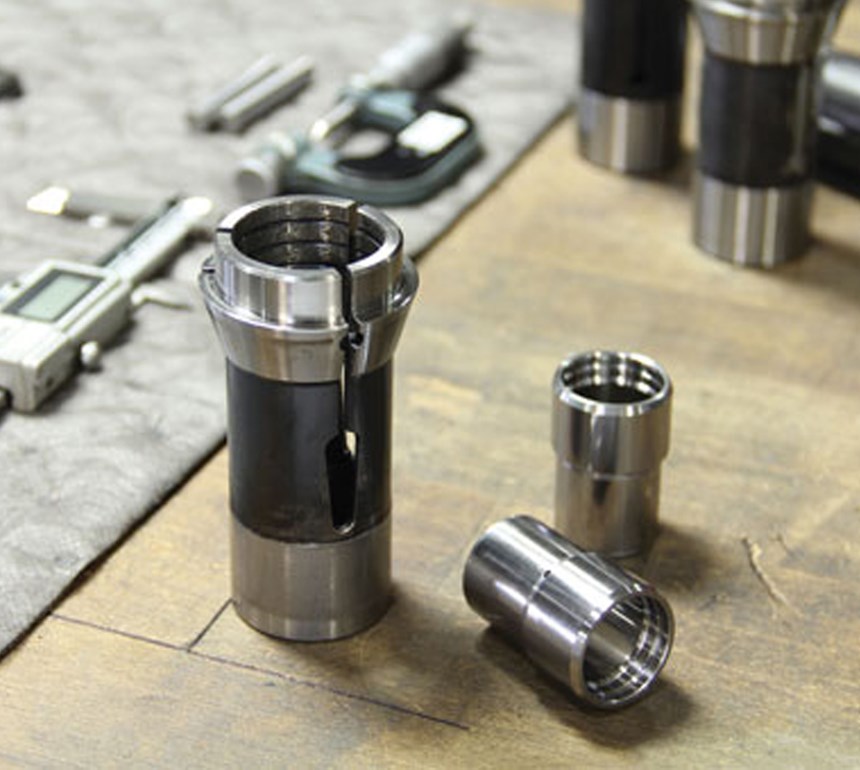
Mr. Grisez contacted the Edge Technologies’ service department and put the company in contact with Mr. Schnipke immediately. The order was placed for a 32-mm Schlenker hard metal coated collet, a variation that features a series of radial lands and grooves on the ID.
“On this type of collet, the surface of the lands are made with a slight angle, giving them a sharp edge for a strong biting grip on the barstock to prevent backward slippage,” explains Britta Hoffman, managing director of Schlenker Spannwerkzeuge. “Our final step is to infuse the ID with a carbide coating to give additional metal-on-metal grip on the bar’s surface.”
After installing the new Schlenker collet, Mr. Schnipke found a much improved situation. “I checked my runout, and it was at 0.0005 inch to 0.0007 inch—a great improvement from what I was seeing with the other collet,” he explains. The previous collet had about 1 inch of grip depth on the ID. The new collet had approximately 50 percent more contact area with a contact depth of about 1.5 inches, a factor that, combined with the runout accuracy, solved the vibration problem. As a bonus, the bar slip problem was resolved immediately, and they were able to go into production right away.
Partners
About 20 months later, Miller Precision is still using the same collet for the production of these parts. “We precision grind the ID for accuracy, and we use a special type of steel for all of our collets and guide bushings,” Ms. Hoffman says. “For quality control, we do all the machining and the hardening processes in-house. This gives our collets a greater tensile strength for longevity.”
In the end, extra effort and going the extra mile helped to diagnose the problem. “They’re good people (Miller Precision). I try to take care good of them,” explains Mr. Grisez. “They are a good customer who takes ownership of their equipment. They are smart, and they want to know what is going on with their equipment. They help me to help them.” The right tool for the job—a simple little thing like a collet—solved two problems at once. A good lesson learned: Never underestimate the importance of workholding in any application.
For more information about Miller Precision Manufacturing Industries Inc., call 419-453-3251 or visit millerprecision.com.
Related Content
Starting Small with Automation
Quick-change workholding and flexible robotic automation started this small shop on the path to success.
Read MoreReinventing the Wheel with Robot-Automated CNC Multitasking
One race team discovers how to efficiently manufacture a new wheel nut design for the next-generation NASCAR stock car with the help of a CNC mill/turn and a built-in robot.
Read MoreZoller Event Shines Lights on Shopfloor Connectivity
The company’s open house event highlighted smart manufacturing solutions from CAM to part.
Read MoreHigh-Volume Machine Shop Automates Secondary Ops
An Ohio contract shop added a compact, self-loading CNC lathe to perform unattended secondary ops on a part for a key customer rather than running it on a manually loaded chucker.
Read MoreRead Next
Seeing Automated Workpiece Measurement in Real Time
User-friendly inspection software for CNC machining centers was shown at IMTS 2024 monitoring measurements between and after machining while performing SPC based on recorded measurement values.
Read MoreDo You Have Single Points of Failure?
Plans need to be in place before a catastrophic event occurs.
Read More5 Aspects of PMTS I Appreciate
The three-day edition of the 2025 Precision Machining Technology Show kicks off at the start of April. I’ll be there, and here are some reasons why.
Read More




.png;maxWidth=300;quality=90)


