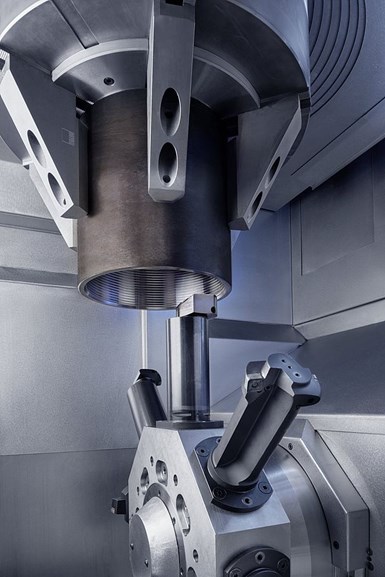
Non-Contact Tread Measurement Speeds Pipe Inspection
Pipe/coupling thread measurement system designed to reduce tool costs and downtimes.

Emag’s non-contact pipe and coupling thread inspection system (TIS) is designed to save time and labor on an essential measuring process. The optical measuring system can be used autonomously or integrated into a complete production process. Advantages of the TIS include potential savings resulting from its automated operation, and measurement accuracy and short measuring times. Once measurements are taken, feedback is directed back to the machine tool’s CNC, allowing tool corrections to be made automatically and immediately during the machining process. This error-minimizing system is said to measure all thread types (API and premium threads), which eliminates a manual measurement process. This method also detects insert wear, which allows optimal insert changes to be performed, thereby reducing tool costs and downtimes due to worn tools.
Related Content
-
The Value of CMM Controller Retrofits
In this case, new controllers for two coordinate measuring machines — one 26 years old — with new programming software offers the possibility to enable multisensor inspection of critical, turned aerospace components.
-
Does a Scanning Probe Make Sense on a Swiss-Type?
Swiss-types have limited tooling capacity, but there can be advantages to giving up some of that capacity to take advantage of a touch probe — in fact, a scanning probe — to enable in-process part measurements.
-
Precision Machining Technology Review: November 2024
Production Machining’s November 2024 technology showcase includes some of the latest technology from Vericut, Hurco, the L.S. Starrett Co., LNS North America, Fryer Machine Systems and MachineMetrics.


.jpg;maxWidth=300;quality=90)


