Purpose Built Micromachining Center
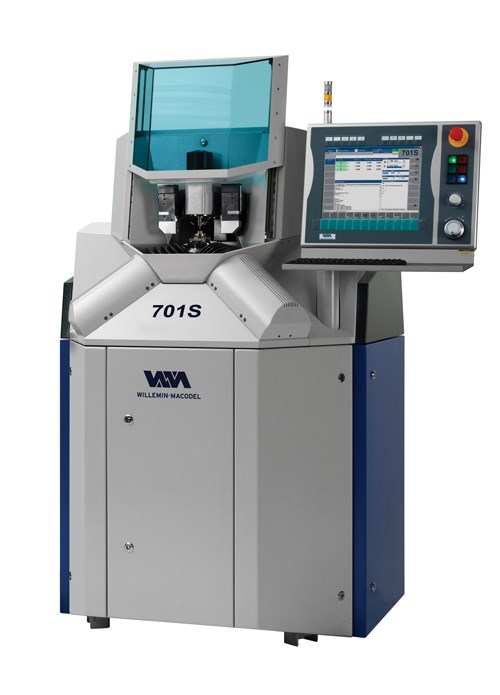
In metalworking, it is rare to find new approaches to well-established technologies; usually new developments are major or minor upgrades to known elements. This micromachining center is rewriting the rulebook.
To get an idea of the new micromachining center concept, imagine an inverted Delta robot (a type of parallel robot) supporting the workpiece to be machined on a work table that is connected to three arms. The machining spindle is attached to a fixed gantry overhanging the three-axis table. This arrangement is advantageous because the machine component weights are light, which ensures excellent dynamic rigidity.
The Delta Structure
The idea of producing a machine tool equipped with a parallel structure as opposed to a conventional serial kinematic structure is not new, but its application in an inverted orientation is new. Developed from a concept by the EPFL (Swiss Federal Institute of Technology), Willemin-Macodel has applied this design in its new 701S machine to achieve submicron precision in micromachining applications.
New Micromachining Strategy
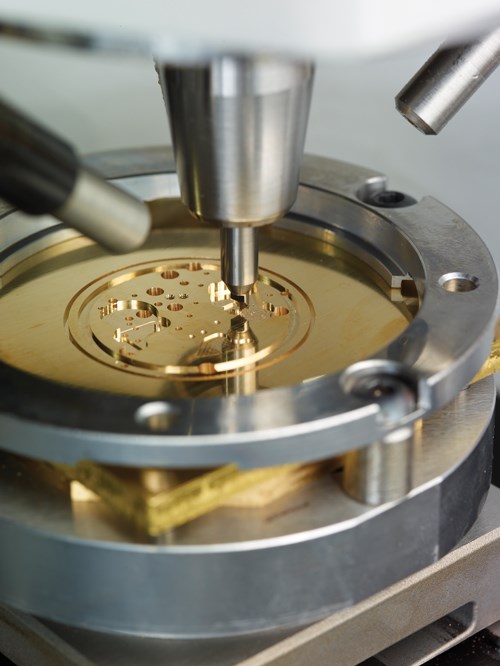
Dedicated to machining small workpieces (50 × 30 mm), the entire machining strategy has been developed around “interpolation.” In this way, machining operations can benefit from the dynamic control of the worktable, while reducing the number of tools needed.
Willemin-Macodel has integrated a new numerical control on the PC base that is capable of executing control loops much more quickly than conventional controls, along with high-resolution measuring scales (less than 10 nanometers). The combination of high-resolution measuring scales and ultra-fast control loop calculations guarantee submicronic contour tracking. The trajectory error is reduced by a factor of ten compared with the conventional machines available on the market.
Spindle Rotation of 80,000 rpm without a Toolholder
A balanced spindle shaft with no floating mechanical parts results in top quality rotation. Removing the toolholder and mounting the tool directly in the spindle shaft means that this precision of rotation is maintained right up to the tip of the tool. This rigid, direct linkage arrangement also delivers higher machining accuracy, improved surface finish quality and extends the life service of the tools.
Optical Measuring System
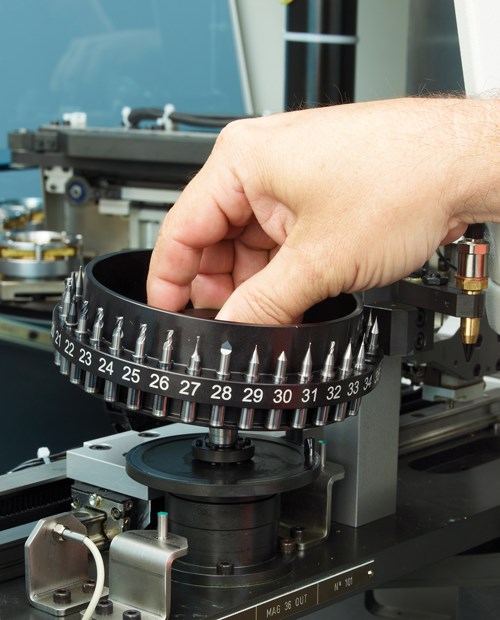
Each time the tool is changed, an optical measuring system checks the position and the geometry of the tools in rotation and makes any necessary correction to account for the real coordinates. This system directly corrects tool residual roundness errors.
It is also used to detect and compensate for problems of wear or damage to cutting edges. Like every element of the machine, the system software has been developed by the OEM so that it is matched to the 701S machine and its new technology.
Lighter, Dynamic, More Rigid
In the past when machine builders talked of high precision, they often associated weight with rigidity. Purpose built, micromachining centers, such as the 701S, are creating a paradigm shift in this thinking.
The machine’s parallel structure enables the weight in motion to be minimized, while ensuring the feed control remains rigid. Combining these two elements guarantees a high natural frequency, highly dynamic control and more reliability in high-speed trajectory tracking. This machine structure is capable of withstanding accelerations of around 5G.
Low Power Consumption
Increasingly, machine tool designers must take power consumption into consideration. The choice of high energy efficiency motors and actuators minimizes heat loss and guarantees the dimensional stability of the assembly, therefore ensuring more machining precision on the workpiece with minimum power consumption.
Another consequence of the machine's low energy consumption is that it is not necessary to develop power-hungry peripherals to handle the heat that has already dissipated, so much so the machine consumes around the same amount of power as a hair dryer.
Testing Precision and Productivity
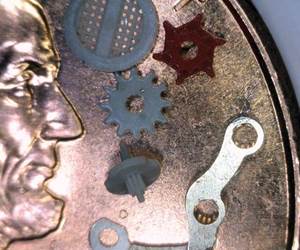
On parts produced for customers working in partnership during the development of the new 701S machine, cycle times were significantly reduced as it is 2 to 5 times quicker than with a conventional process, depending on the type of application. In terms of precision, the machine can achieve submicron accuracy and surface finishes close to resurfacing processes. If necessary, subsequent superfinishing operations will be greatly simplified. The machine design is well suited to watchmaking or micro-molding.

Related Content
Understanding Micro-Milling Machine Technology
Micro-milling can be a companion process to turning-based production machining. This article looks at some of the technologies that go into a micro-milling machine and why they are important to successful operation.
Read MoreAddressing Micro-Boring Challenges
This boring bar/tool holding system for Swiss-type lathes is said to offer high rigidity and positioning repeatability. In addition, the boring bars can be changed out using no hand tools.
Read MoreProducing Micro Screws for the Watch Industry
Cutting tools play a key role in machining tiny screws on Swiss-type lathes for this Switzerland-based watch manufacturer.
Read MoreA History of Precision: The Invention and Evolution of Swiss-Style Machining
In the late 1800s, a new technology — Swiss-type machines — emerged to serve Switzerland’s growing watchmaking industry. Today, Swiss-machined parts are ubiquitous, and there’s a good reason for that: No other machining technology can produce tiny, complex components more efficiently or at higher quality.
Read MoreRead Next
Tooling Up for Micromachining
Choosing the right tools and matching them to the correct operations and process techniques for micromachining applications is critical to success in this burgeoning market.
Read MoreDo You Have Single Points of Failure?
Plans need to be in place before a catastrophic event occurs.
Read MoreEmerging Leaders Nominations Now Open
Here’s your chance to highlight a young person in your manufacturing business who is on the path to be a future leader moving your company forward.
Read More


.jpg;maxWidth=300;quality=90)


