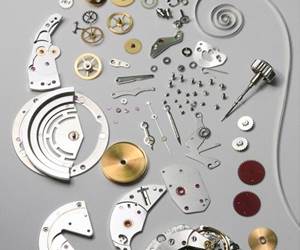
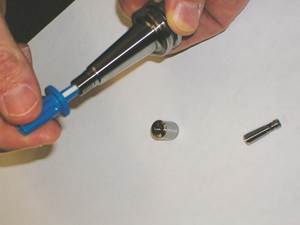
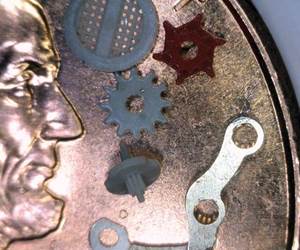
When the subject of micromachining comes up, people often think immediately of tiny parts. But it’s really more about the technology that allows the production of these parts, and that technology can be applied to features on parts of any size. Micromachining requires a certain level of precision that isn’t easily attainable; the right tooling and workholding, finishing processes and inspection and quality control must all work flawlessly together to produce these types of parts to the standards set forth by today’s electronics, automotive, medical, aerospace and other industries requiring small features with such tight tolerances.
One shop in Batavia, Ohio, just east of Cincinnati, knows what it takes to serve up this level of precision. We’ve written about American Micro Products Inc. (AMPI) before. Founded in 1957, the company has been a well-respected leader in the field of precision machined components. Its global reach and its capabilities in micro and high precision manufacturing have allowed AMPI to serve a variety of high-technology markets including automotive, diesel fuel system components, aerospace, medical and industrial, among others.
Today, the corporate headquarters, with core competencies of electrical, mechanical and test and measurement services, includes 140,000 square feet of floor space and employs about 200 people. The company also has a 40,000-square-foot manufacturing facility in China (Micro Global) that employs 100 more. Mixed with its long list of internal capabilities, including automation, plating, maintenance and finishing, it has formed a network of outside services that include casting, coating, forging, heat treating, laser welding, metal injection molding and extrusion. With strategic alliances with its customers, the company can better understand their needs and how its combined resources can offer the advantages necessary to meet the customers’ goals.
AMPI has established a reputation for quality custom products including custom connectors, feed-throughs, headers, hermetic packages, match seals and ceramic seals. Its precision machining capabilities include turning from 0.1 mm to 150 mm, turning lengths as long as 600 mm, milling to 800 × 410 × 510 mm and tolerances to ±0.001 mm.
Making a Connection
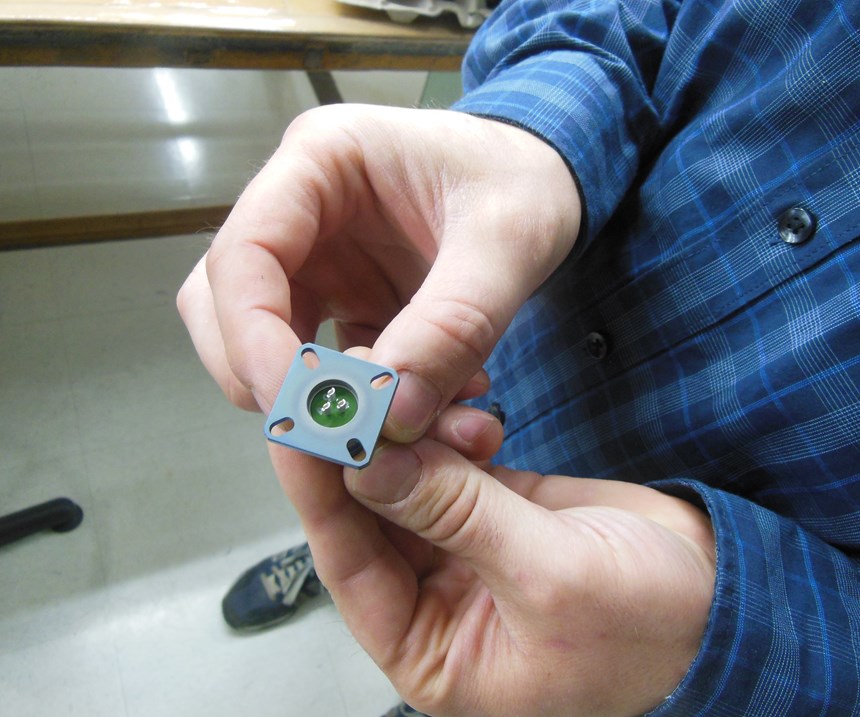
One of the key products from AMPI is a line of glass-to-metal and ceramic-to-metal (versus the typical epoxy-to-metal), hermetically sealed electrical connectors, which was added to the product offering back in 1998. The connectors are designed to withstand harsh environmental conditions such as deep well or space and mission-critical applications such as the black box of an airplane.
The company can produce almost a million different configurations of the connectors, based on the shell size, number of contacts, contact positioning and broach placement. It must meet tight quality standards to match the customer’s required tolerances. AMPI is on the DLA Qualified Products List (QPL) for MIL-DTL-38999 series I, II, and III, MIL-DTL-83723 series III and MIL-DTL-26500. It also manufactures commercial equivalents to MIL-DTL-5051, MIL-DTL-26482, EN2997 and ESC10.
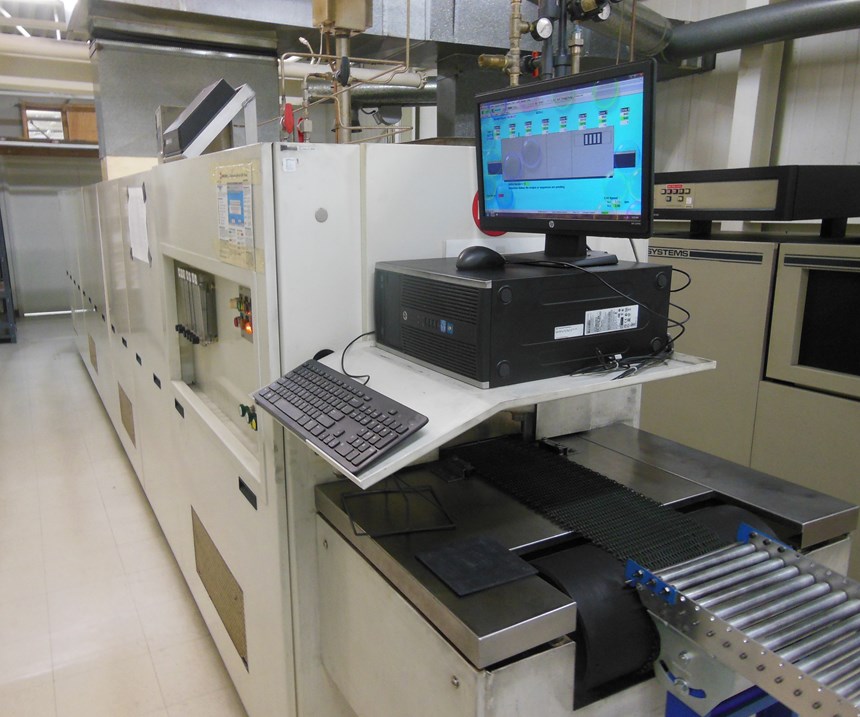
The connectors go through 27 different processes during production. To create the insulator, a glass pellet is inserted into the shell using a graphite fixture designed to withstand high temperatures. It then very slowly travels across a conveyor through multiple heating zones of an oven that heats to higher than 2,000°F. The metal of the shell expands, and the glass becomes a gel state. As the components move through the oven and gradually move to cooler temperatures, the glass hardens first and the metal compresses to create the seal. The compression seal is so restrictive that helium testing has indicated that it would take 5,000 years for one cubic inch of air to pass through. Connectors are available in various shapes and with different fit-throughs and headers. Materials may be stainless, Inconel or other alloys, depending on the application.
Measuring Up
The company’s experience with the precision requirements of the connectors has furthered its understanding of test and measure processes. Qualifying a part such as the connector can amount to as much as $500,000, so AMPI has found that it is best to keep all of its quality control processes in-house. With its existing substantial investment in test and measure equipment, the company is even considering expanding to become a lab that will offer these capabilities as a service.
Federico Veneziano, company COO/CFO, says instead of using the term “quality management system” (QMS), AMPI tabs its approach as a business management system (BMS). “We want to make sure the entire organization has the same set of goals for product quality, rather than restricting the approach to within the quality department alone,” he says. “Everyone contributes to the quality of the final product.”
In its efforts to keep up with the ever-tightening requirements of multiple industries driving to zero-defect, the company has attained a stream of certifications and accreditations, including ISO9001, IATF16949, AS9100, NADCAP and ITAR. The quality department includes a nice lineup of inspection and measurement equipment specific to various part features. The CMM allows measurement of the geometry of physical objects by sensing discrete points on the surface of the object with a probe. The Zeiss Rondcom allows measurement of cylindricity, roundness and TIR. Tesa-Scan systems verify with vision capability a different array of outside dimensions of a part. The quality department also includes an OGP SmartScope, a Zeiss Surfcom surface texture and contour measuring system, a Formtracer surface roughness analyzer, and several optical comparators, along with more than 2,500 precision measuring tools.
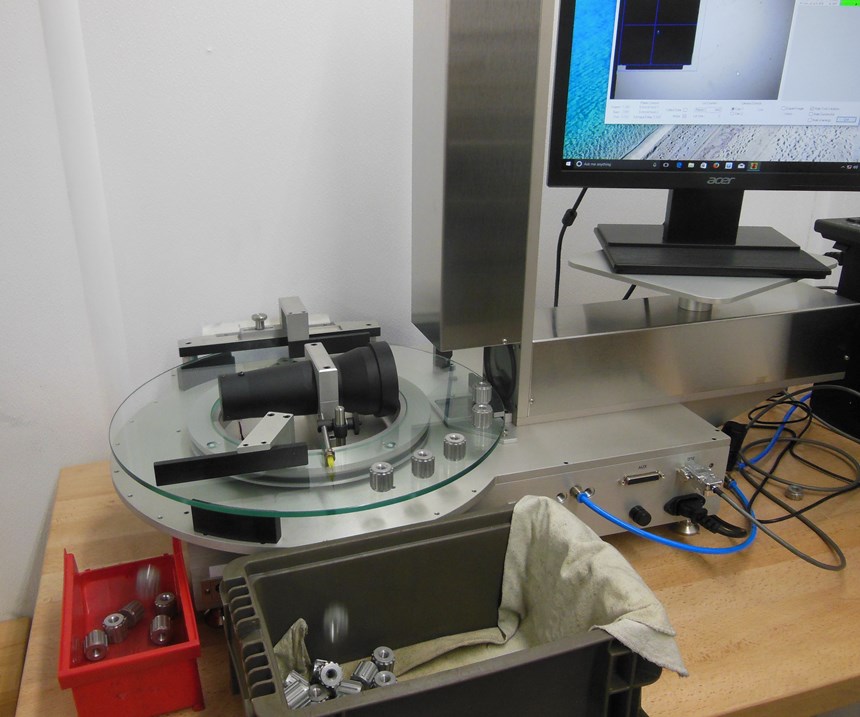
One of the most recent acquisitions is a vison system that does 100-percent checking on some of the company’s automotive parts. It can check as many as 7,200 pieces an hour, looking at dimensions, size, height, lower diameter, upper diameter and radius. Mr. Veneziano says the system provides peace of mind when trying to provide competitive prices with zero-defect parts. “If there’s a problem in the field, it comes back to everyone who handled the part. That makes zero-defect vital,” he explains. “Machines have so many variables; it’s almost impossible to get to zero-defect in production. So, 100-percent part checking in the inspection process is key to meeting the final goal. Now we have a machine that allows us to do that quickly.”
Based on experience, the company’s quality personnel can easily determine what type of inspection a part will need. Sometimes the decision is based on quantity. High-volume jobs may work better with in-process gaging inside the machines. While this equipment is not measuring to the precision of the other systems, in many cases it is sufficient to determine whether a part is good.
Mr. Veneziano says the company closely considers quality prior to taking on a job, while many other shops will take a job based solely on machining capabilities and then consider the quality requirements later. “When we approach a customer, our first pitch is our measurement capabilities. We need to know, first, if we can measure the part, and then we consider the production process,” he says. He explains that the standard in manufacturing is less than three-percent failure rate, but AMPI targets below one percent, with some customer designs demanding that difficult-to-achieve zero failure.
Spreading the Wealth
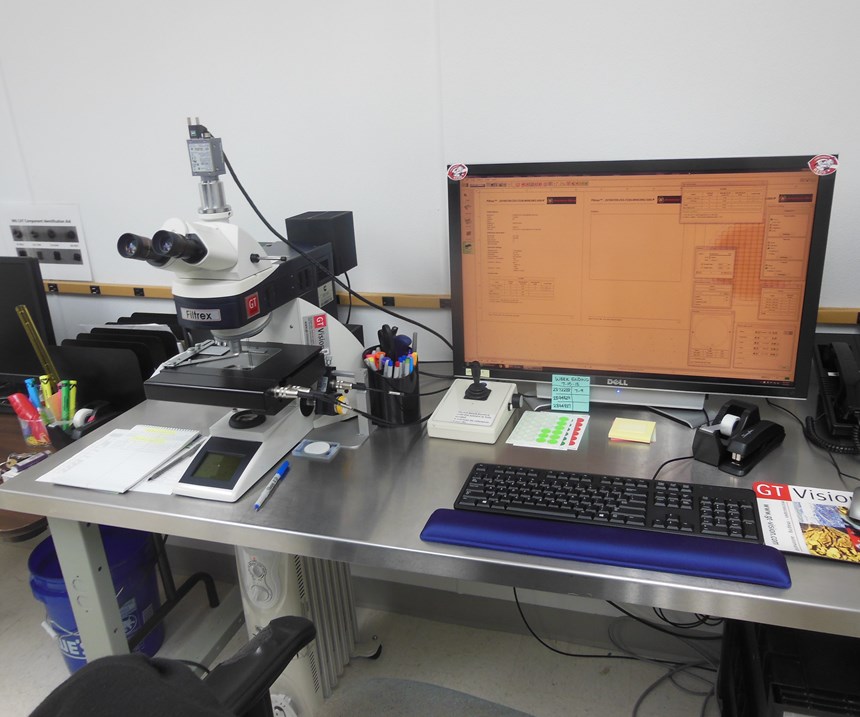
AMPI’s capabilities in the production of its connectors are intertwined with other industries that the company serves. It has become quite adept in dealing with tight cleanliness requirements as well and has applied that skill accordingly. Among its metrology investments is a particle-counting microscope that can magnify to 600 times, allowing close examination in critical applications.
In the production of some fuel injectors, machining is so accurate that traditional seals are being eliminated and replaced with metal-to-metal seals. In this design, the parts need to meet cleanliness standards that were previously unattainable. The particle-counting microscope allows verification that the parts meet the extreme particle size tolerance.
After both solvent and ultrasonic cleaning processes, the parts are run through a Millipore test that involves putting fluid on the part and using a patch to collect the debris. The patch is then placed in an oven to dry out the fluid. The patch is measured and must be below a certain weight, indicating that it did not pick up too much debris. The patch is then examined under the microscope at 400× to see exactly what particles it has picked up.
While cleanliness standards were previously associated mostly with automotive applications, other industries are quickly upping their game in this area. Even the aerospace industry has established tighter restrictions relating to foreign object debris (FOD). Materials traceability has also become a very significant part of the quality strategy.
Applying its experience in the production of precision components, their inspection and measurement, and ensuring that they meet the necessary clean specs allows AMPI’s to continue its momentum in this range of industries.
For more information from AMPI Products Inc., call 800-479-2193 or visit american-micro.com.
Related Content
Keeping Watch on Small Parts
From watch parts to exotic medical applications, this shop takes on the world of micromachining.
Read MoreA History of Precision: The Invention and Evolution of Swiss-Style Machining
In the late 1800s, a new technology — Swiss-type machines — emerged to serve Switzerland’s growing watchmaking industry. Today, Swiss-machined parts are ubiquitous, and there’s a good reason for that: No other machining technology can produce tiny, complex components more efficiently or at higher quality.
Read MoreMicro-Drilling: 9 Questions to Answer Before Beginning
Applications for micromachining continue to grow. Successful machining with small tools calls for a different set of process skills on the shop floor.
Read MoreUnderstanding Micro-Milling Machine Technology
Micro-milling can be a companion process to turning-based production machining. This article looks at some of the technologies that go into a micro-milling machine and why they are important to successful operation.
Read MoreRead Next
Do You Have Single Points of Failure?
Plans need to be in place before a catastrophic event occurs.
Read More5 Aspects of PMTS I Appreciate
The three-day edition of the 2025 Precision Machining Technology Show kicks off at the start of April. I’ll be there, and here are some reasons why.
Read MoreA Tooling Workshop Worth a Visit
Marubeni Citizen-Cincom’s tooling and accessory workshop offers a chance to learn more about ancillary devices that can boost machining efficiency and capability.
Read More




.jpg;maxWidth=300;quality=90)

