Video Tech Brief: 3D Optical Part Measurement Explained
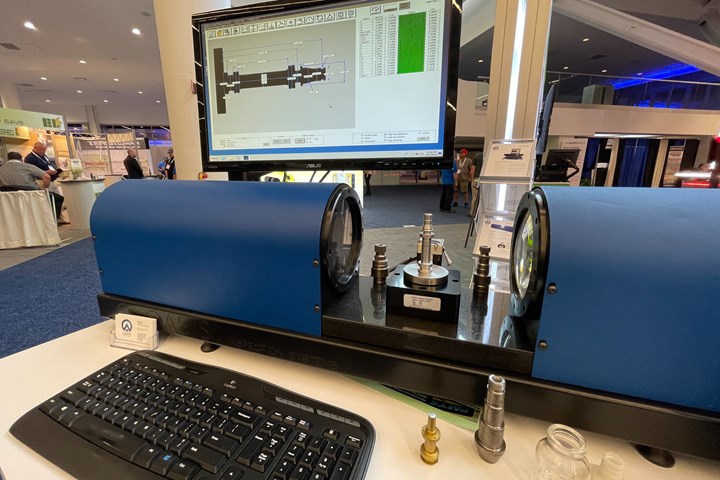
Oasis Inspection Systems added a rotary stage to its optical measuring units enabling them to perform automated 3D measurement of machined part features.
Part measurement can become a bottleneck, especially for high-volume production shops. Devices such as non-contact optical systems from Oasis Inspection Systems automatically measure multiple profile dimensions on small parts simultaneously and in real time with all measurements done in less than a second. In fact, the addition of a motorized rotary stage turns this 2D inspection process into a 3D process.
Inspectors can ensure that their parts are within specification limits all the way around without manually turning the part. In addition, rotating the part adds the ability to check additional features such as roundness and concentricity.
With the included software update, all of this additional data is recorded with the built-in Oasis inspection report or can be automatically imported into any statistical process control (SPC) program. In continuous mode, the part continuously rotates on the stage at a user-defined speed to enable the inspector to view the measurements and status display panel as the part turns. In fixed-duration mode, the inspector defines how many rotations the stage will make and how many times to measure the part while rotating.

Related Content
-
Precision Machining Technology Review: December 2023
Production Machining’s December 2023 technology showcase includes some of the latest technology from Sandvik Coromant, Nikon Metrology, The L.S. Starrett Co., Walter USA, Kennametal and SolidCAM.
-
The Advantages of Automated Shopfloor Gaging
This “parallel kinematic” gage offers the opportunity to automate and improve machining process control for shops endeavoring to move from sample inspection to 100% inspection.
-
PMTS 2023 Product Preview: Measurement
Learn about some of the latest measurement solutions that will be on display at PMTS 2023.


.jpg;maxWidth=300;quality=90)

