Big Kaiser Presetter Option Speeds Data Transfer to Machining Centers
The system can also be configured to send measurements directly into the numerical control tool’s offset table.

Big Kaiser’s Speroni SPI
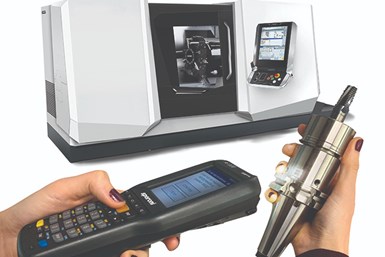
Big Kaiser’s Speroni SPI (Simple Post Interface) is an upgraded tool presetting solution that reduces the time and steps needed to transfer precise and accurate tool measurements to a machine tool.
According to the company, SPI is a great option for manufacturers looking to enhance their return on investment beyond what a presetter already provides. SPI eliminates a handful of opportunities for human error and reduces setup times even further.
As opposed to measuring, printing a label and punching the data into the control, SPI prints a tool label with a QR code at the presetter, which is then read by the SPI module at the machine control. The system can also be configured to send measurements directly into the numerical control’s tool offset table.
While SPI doesn’t need to be paired with the Intelligo Tool Management solution to work on all Big Kaiser presetters, the combination unlocks more features. It enables monitoring of tool count going in and out of machines, and enables the tooling or setup manager to monitor tool life remotely. Managers can easily identify tools that need attention or need to be replaced for continued performance.
SPI is available for controls such as Okuma, FANUC, Heidenhain, Siemens and Mitsubishi.
Related Content
-
In-Machine Probing Possibilities for VTLs
A manufacturer of vertical turning centers uses a “push/pull” optoelectronic probe with custom bracket to enable its machines to perform effective, in-process measurement of shafts and related automotive components.
-
Automated Inspection Transforms Medical Manufacturer’s Quality Control
Manual steps for part inspection have been eliminated with a new CMM process using more advanced software and strategies such as using a combined scanning/touch-trigger probe.
-
PMTS 2023 Product Preview: Measurement
Learn about some of the latest measurement solutions that will be on display at PMTS 2023.


